How to Install Windows NT 4 Server on Proxmox

What?
Windows NT 4 doesn't virtualise well. This guide shows how to do it with Proxmox with a minimal amount of pain.
Why?
I never got to use it and I only have so much room for old computers.
You Will Need
- Proxmox Virtual Environment
- Windows NT 4 Server ISO
- Realtek 8139 Network Card drivers converted into an ISO file.
- LSI 53C895A SCSI controller drivers converted to a floppy image.
- Windows NT 4 Service Pack 6 High Encryption version. WinWorld offers the high encryption version of the installer but the standard encryption version of SP6 so it refuses to install. That is why I grabbed SP6 from archive.org instead.
- Universal VBE Video Display Driver converted to an ISO. I used the beta 2015.01.01 version.
- VMware tools 3.5.0 ISO (for the vmmouse driver).
- Here is the Wayback Machine copy in case the original one goes down.
VM Creation
First upload all the ISO files thorough Proxmox's web interface. Now create a new VM with these settings.
- General
- ISO Image: en_winnt_4.0_svr.iso
- OS
- Guest OS Type: Microsoft Windows
- Guest OS Version: 2000
- System
- Graphic card: Standard VGA. This will allow for higher resolution settings rather than with the default.
- SCSI Controller: LSI 53C895A
- Disks
- Disk size: 4GB. I could not get it to format a boot drive larger than this.
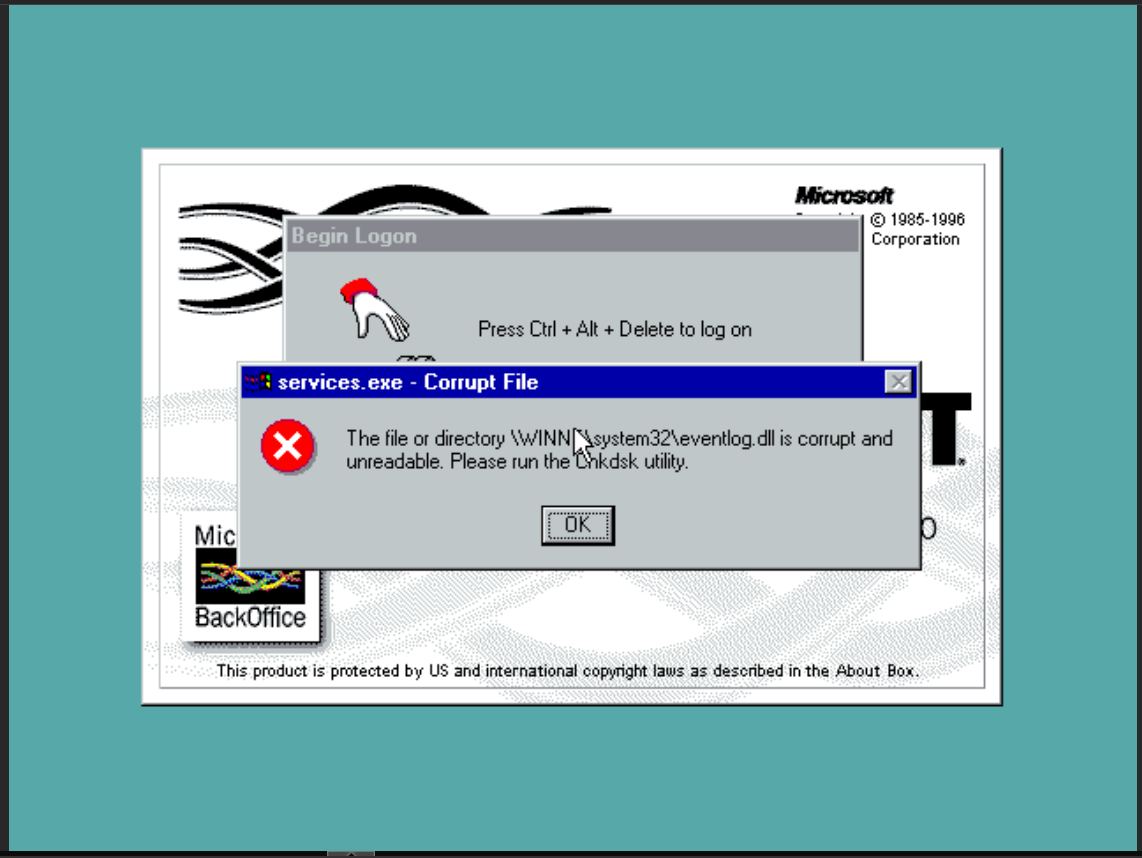
- Bus/Device: SCSI. IMPORTANT: Do NOT use IDE. It will be slow noticeably slower and for some reason leads to file system corruption on NT4 guests despite changing the caching options.
- CPU
- Sockets: 1
- Cores: 1
- Type: Pentium. IMPORTANT: The default CPU selection will lead to an immediate BSOD from the installer.
- Memory
- Memory (MiB): 256. 32 or higher will suffice.
- Network
- Model: Realtek RTL8139. This post says to manually edit the VM config to enable the AMD PCNET card which NT4 has built in support for, but it only runs at 10 Mb/s. The RTL8139 will allow for 100 Mb/s, but we have to install the driver post installation.
Now we have to make the SCSI drivers available to the Windows installer. It only accepts additional mass storage drivers as a floppy disk. Proxmox does not have a web interface for managing floppies so we have to configure this from the command line. Replace VM_ID in the following steps with the ID of your VM.
- Transfer lsi_533895a_floppy.img to the Proxmox server and move it to
/var/lib/vz/images/VM_ID/floppy.img. - Open
/etc/pve/qemu-server/VM_ID.conf, add this to the bottom, then save.
args: -drive file=/var/lib/vz/images/VM_ID/floppy.img,if=floppy,index=0
OS Installation
- Switch to the VM's console, start the VM, then begin pressing F6 when you see the Proxmox logo. Keep pressing until you see this screen.
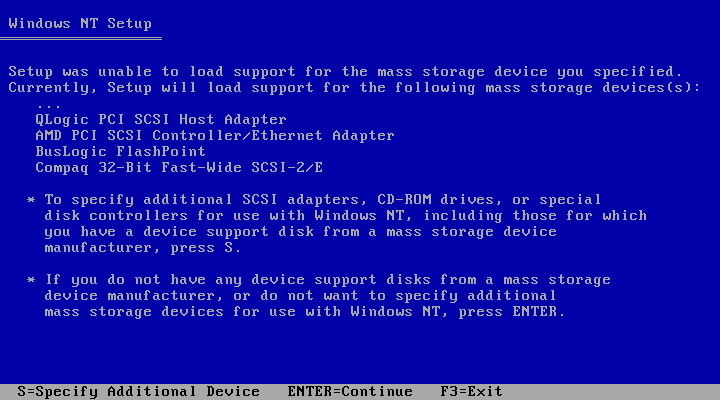
- Press the S key.
- Select Other
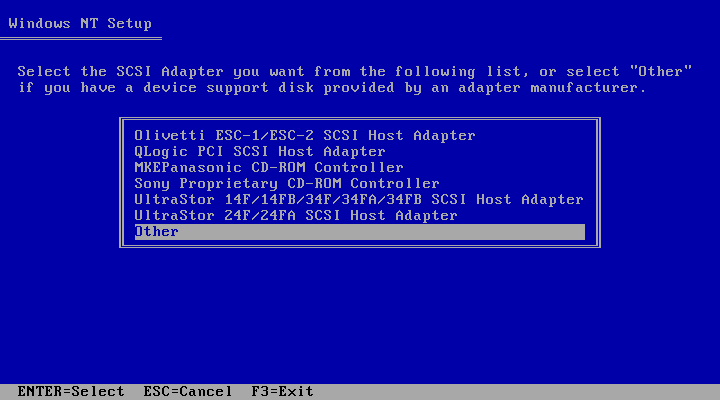
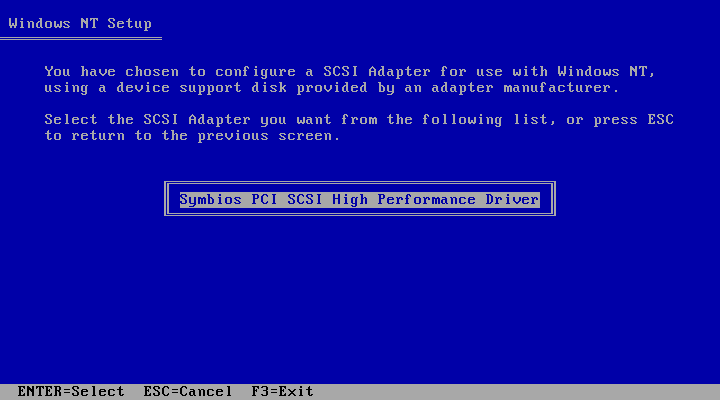
- Press Enter
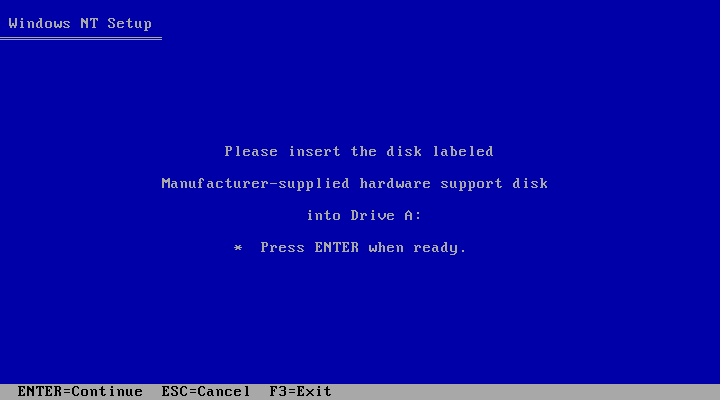
- Press Enter again to select Symbios PCI SCSI High Performance Driver
- You should now see Symbios PCI SCSI High Performance Driver in the list of mass storage devices. Press Enter.
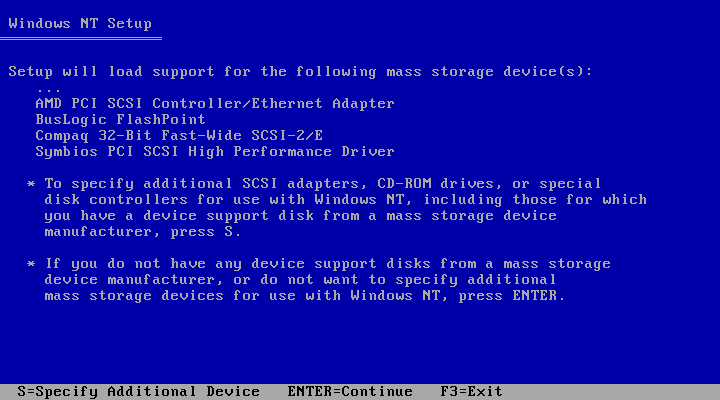
- Continue through the installation steps being sure to format the drive as NTFS.
When the graphical installer comes up, you will notice the mouse is difficult to use. We will fix that in a later step. Struggle with the mouse or use the keyboard for the rest of the installation.
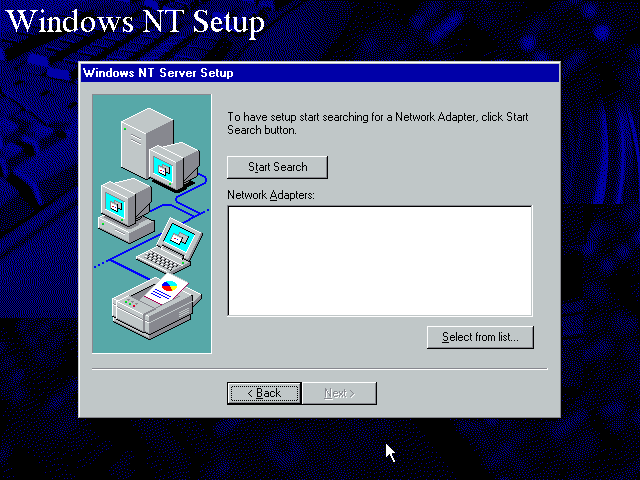
- Continue the installation until you get to the Network Adapter search screen. Click Select from list...
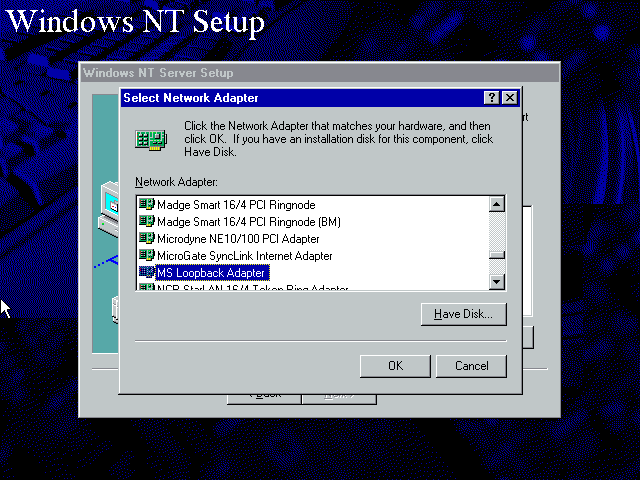
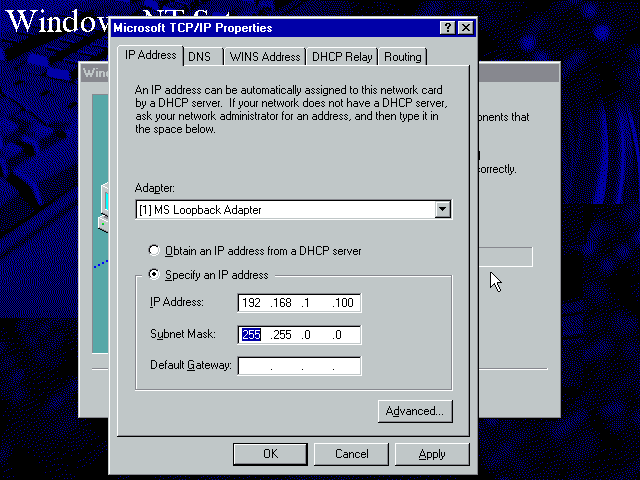
- Select MS Loopback Adapter. IMPORTANT. Do NOT select "Have Disk" and install the RTL8139 drivers now. It will get stuck on installing TCP/IP and you will have to start over. We're using the MS Loopback Adapter to get around this bug.
- Continue through the installer until it asks if there is a DHCP server on your network. Select No.

- Enter an IP address. Anything will do. We will be replacing it later.
- Finish the installation and restart.
Service Pack 6 Installation
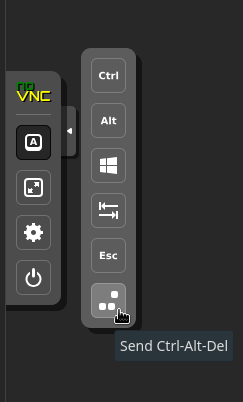
- Press CTRL-ALT-DEL through the Proxmox console and login as Administrator.
- In the VM hardware settings, switch to the ISO containing the Service Pack 6 installer.
- Back in the console, navigate to the CD-ROM drive and run the installer.
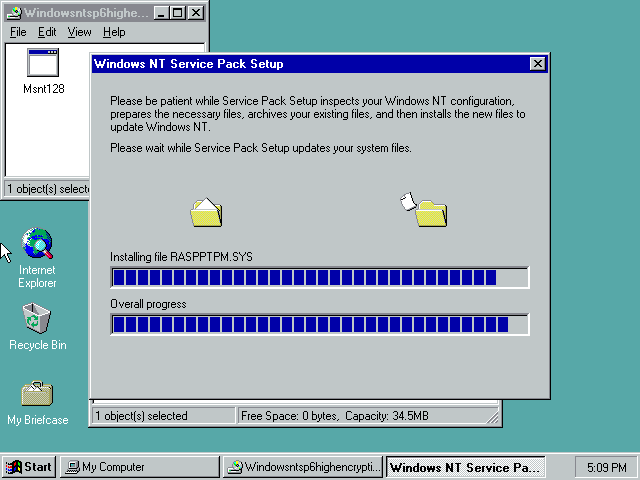
- Reboot.
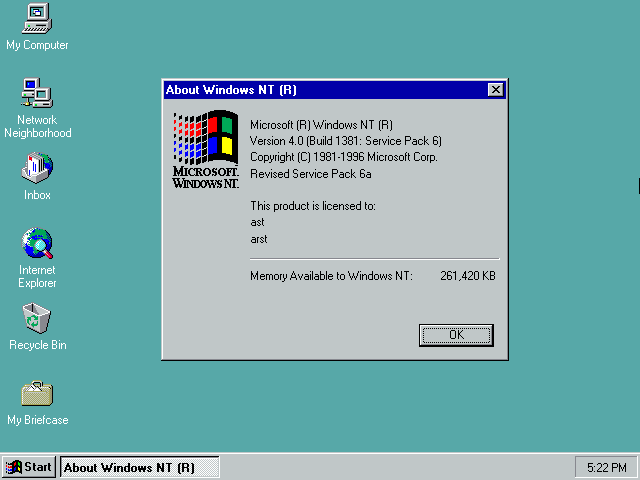
- Go to Start > Run, then run winver to verify your results.
Mouse Drivers
Lets fix the wonky mouse.
- In the VM hardware settings, switch to the ISO containing VMware Tool 3.5.0.
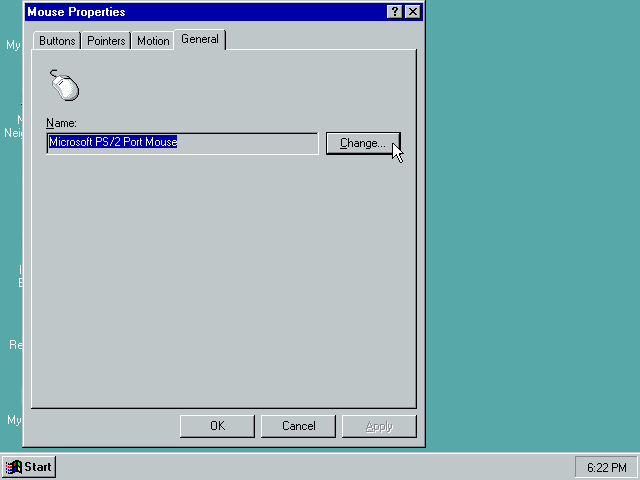
- Back in the console, close the VMware tools installer. Go to Start > Settings > Control Panel > Mouse.
- In the General tab, click Change...
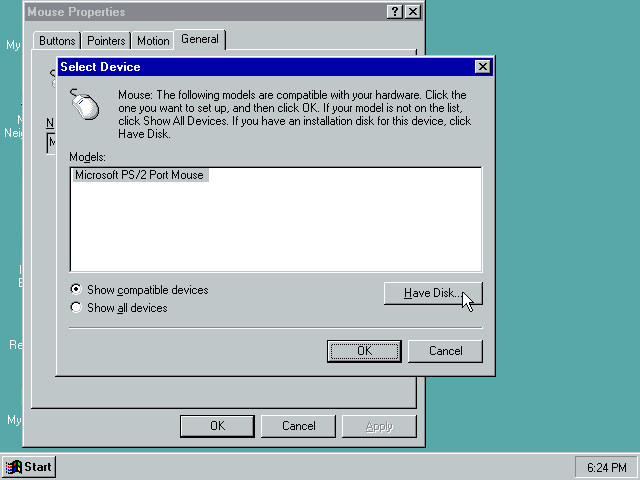
- Click Have Disk...
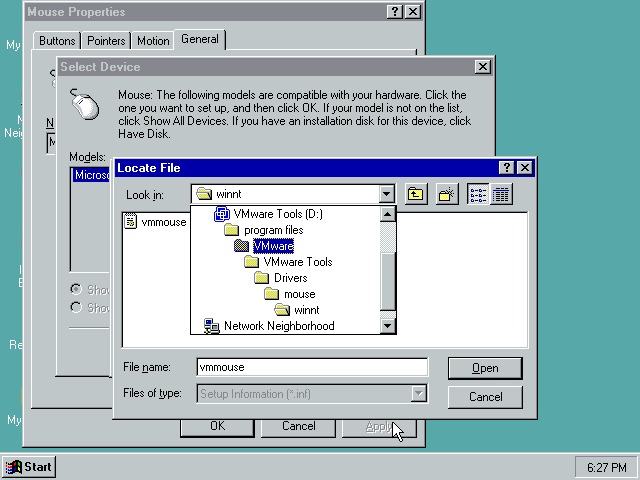
- Click Browse... and navigate to D:\program files\VMware\VMware Tools\Drivers\mouse\winnt.
- Finish installing the VMware Pointing Device driver then reboot.
Now the mouse in the VM should be perfectly synchronized.
Display Drivers
This is necessary to get high color and resolution support.
- In the VM hardware settings, switch to the ISO containing the Universal VBE Video Display Driver.
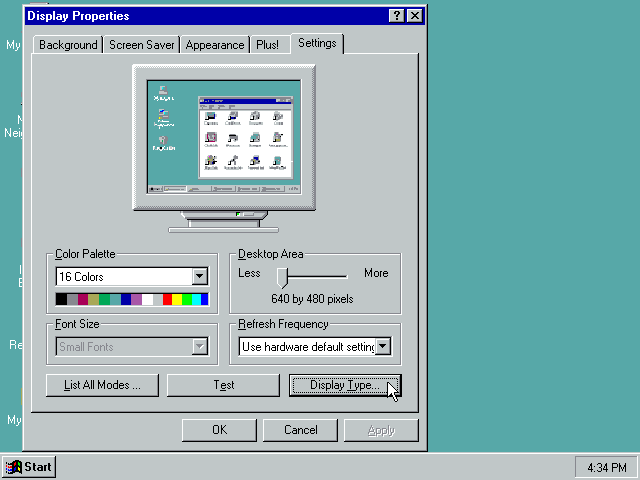
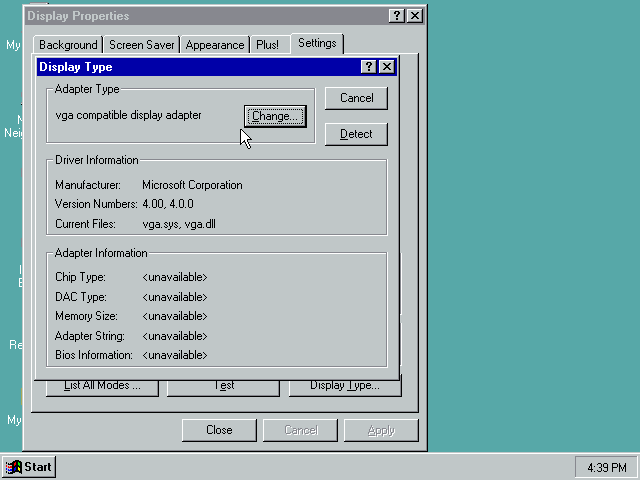
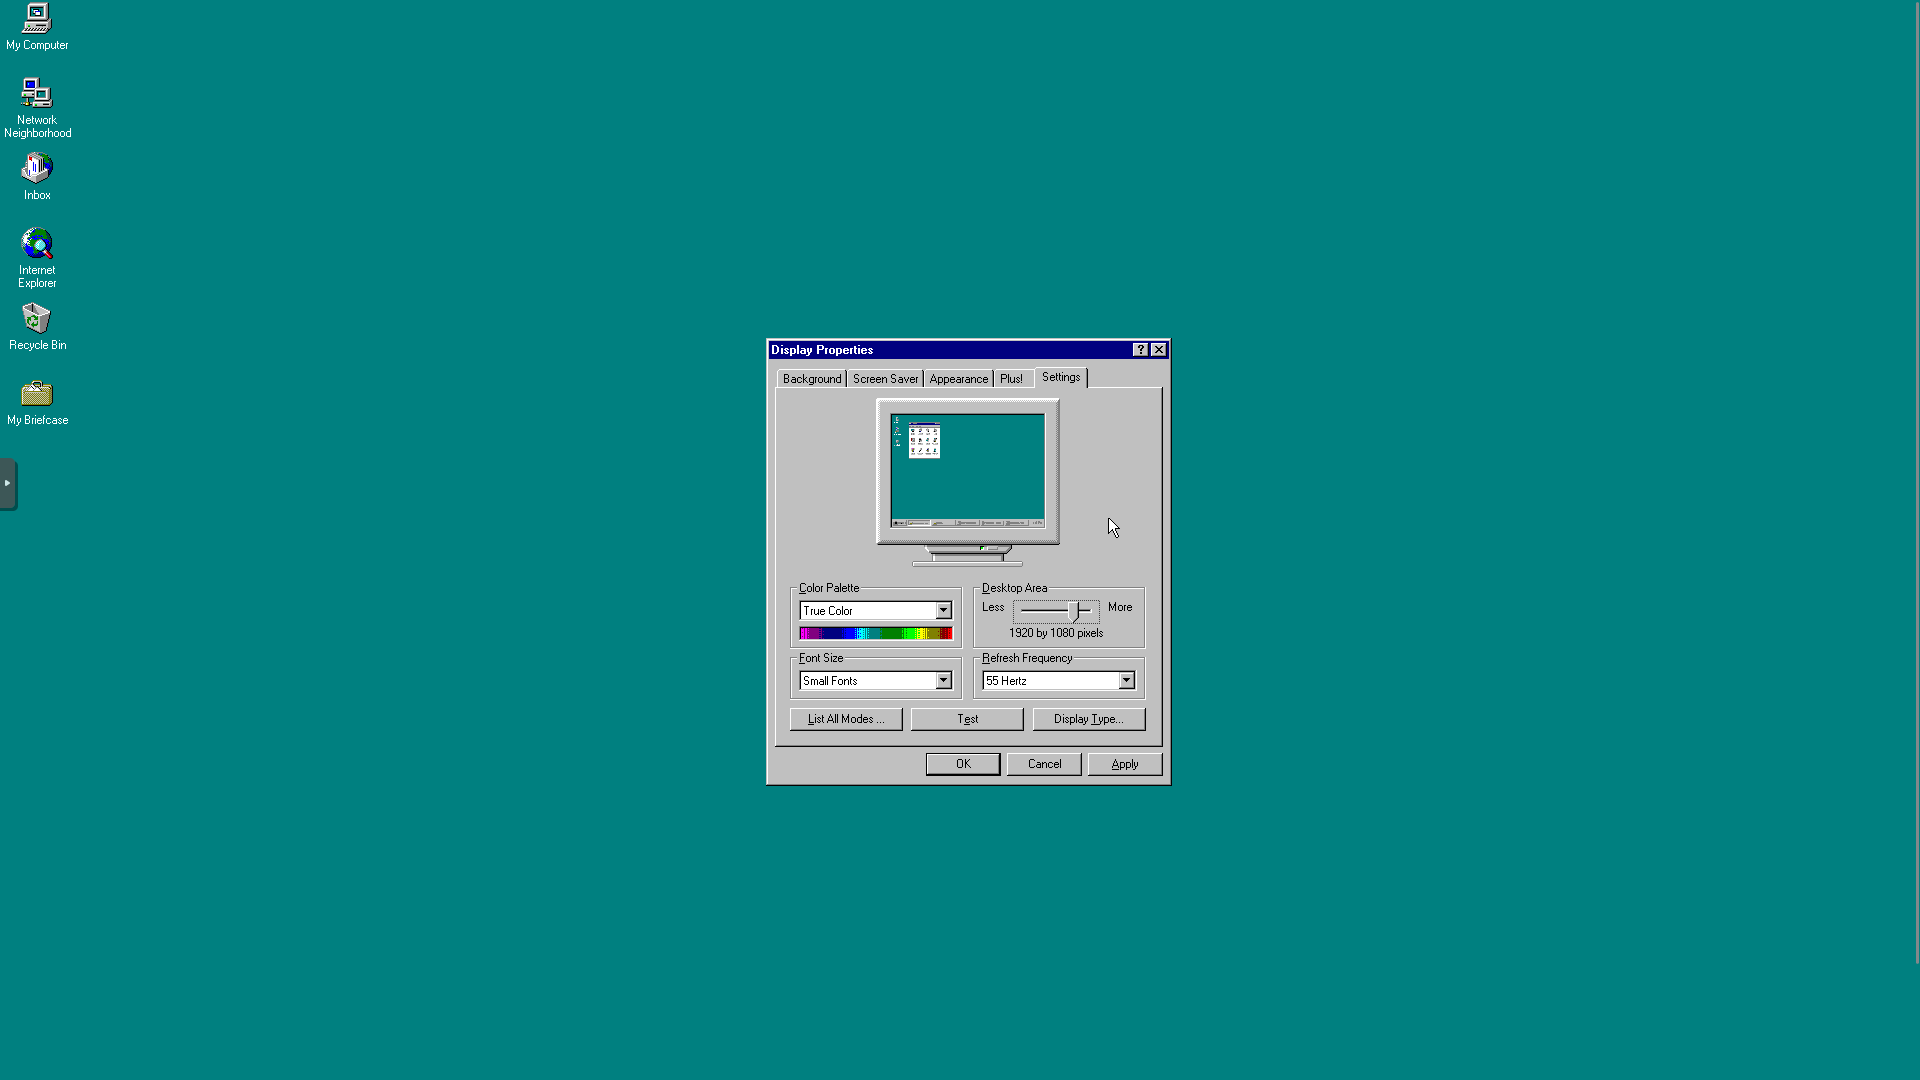
- Back in the console, open Display Properties then click Display Type....
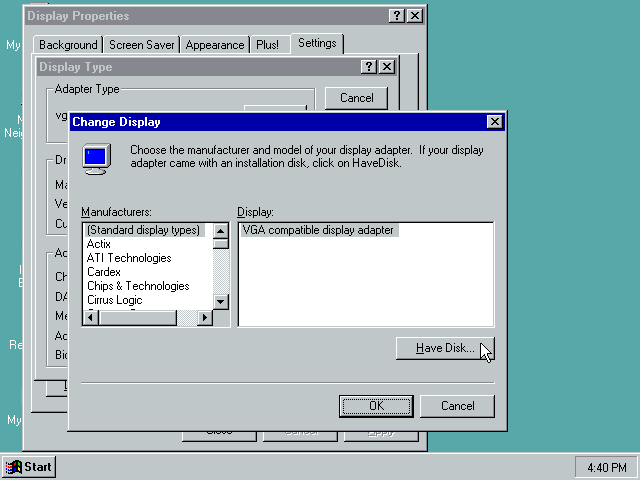
- Click Change...
- Click Have Disk....
- Click Browse...
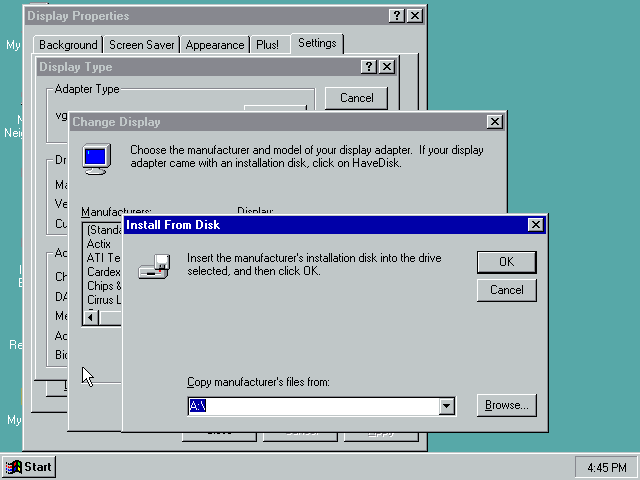
- Navigate to D:\Vbe30\Nt4, then click Open.... Then click Ok...

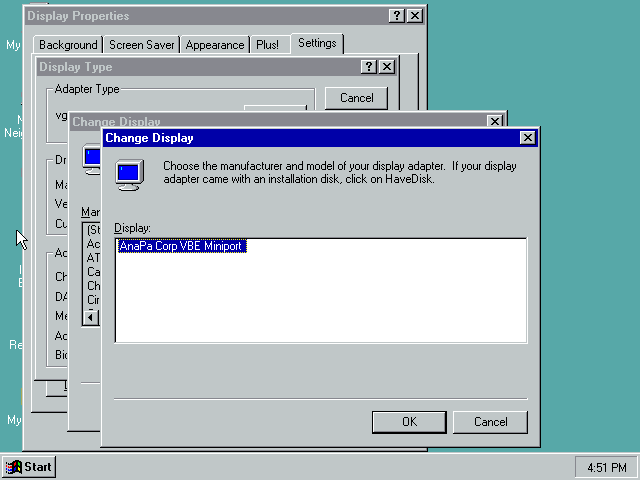
- Install AnaPa Corp VBE Miniport. Then reboot.
Now you can enjoy Windows NT 4 in true color and high resolution. Here it is at 1080p!
Network Card Setup
Now it's time to get on the Internet.
- In the VM hardware settings, switch to the ISO containing the Realtek 8139 drivers.
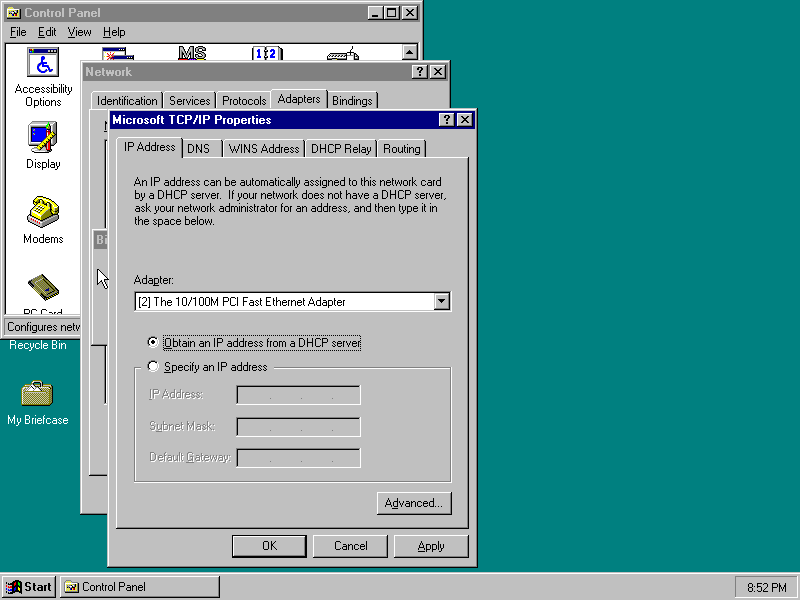
- Back in the console, go to Start > Settings > Control Panel Network. The go to the Adapters tab.
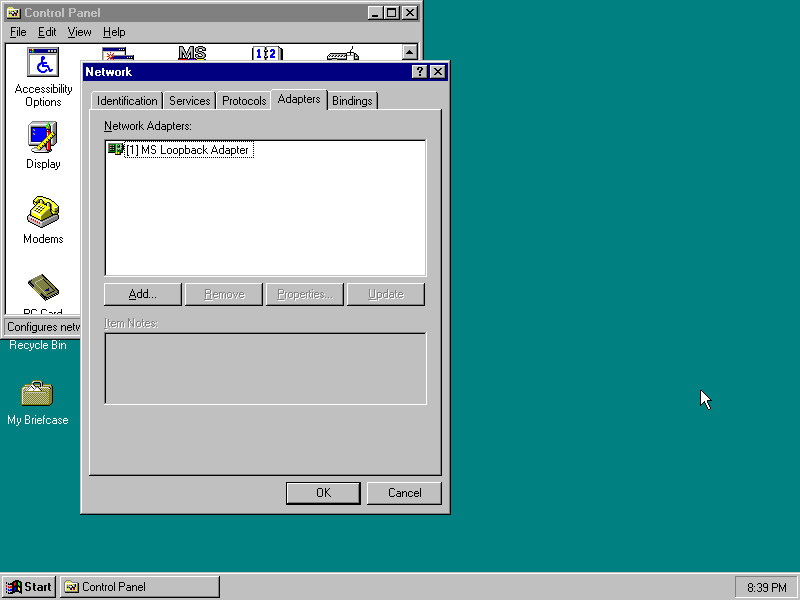
- Click Add....
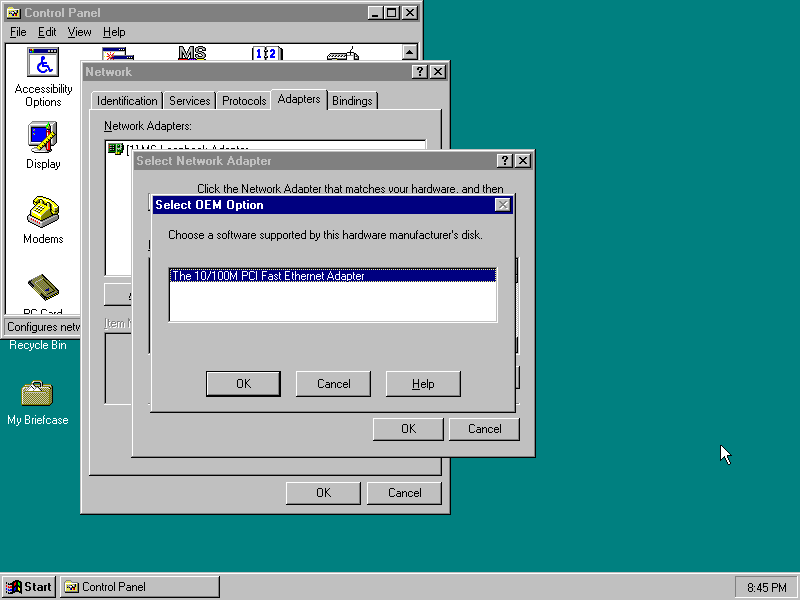
- Click Have Disk...
- In the Insert Disk dialog, enter D:

- Finishing installing the PCI Fast Ethernet Adapter.
- Select the MS Loopback Adapter and click Remove.... Then click Yes.
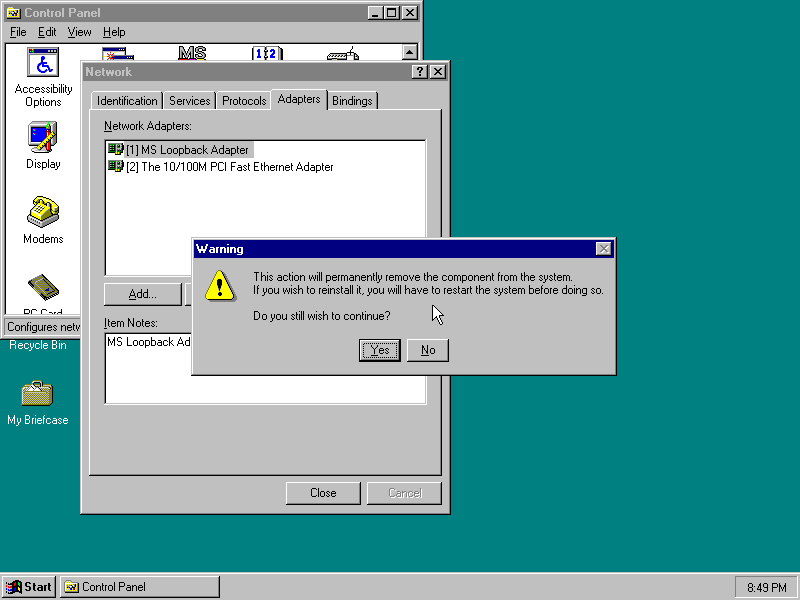
- Click Close. You should now have the option to configure your IP address. Configure it to your liking. I chose DHCP.
- Reboot and see if you're online.
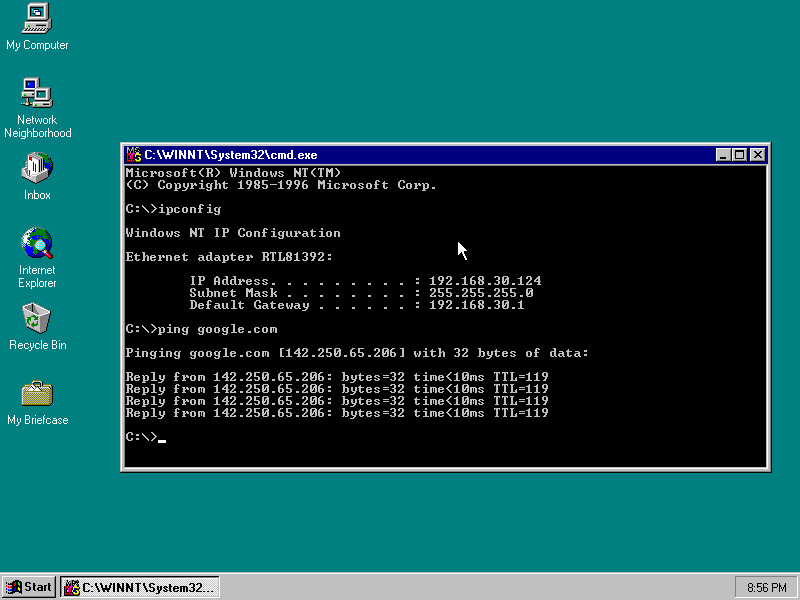
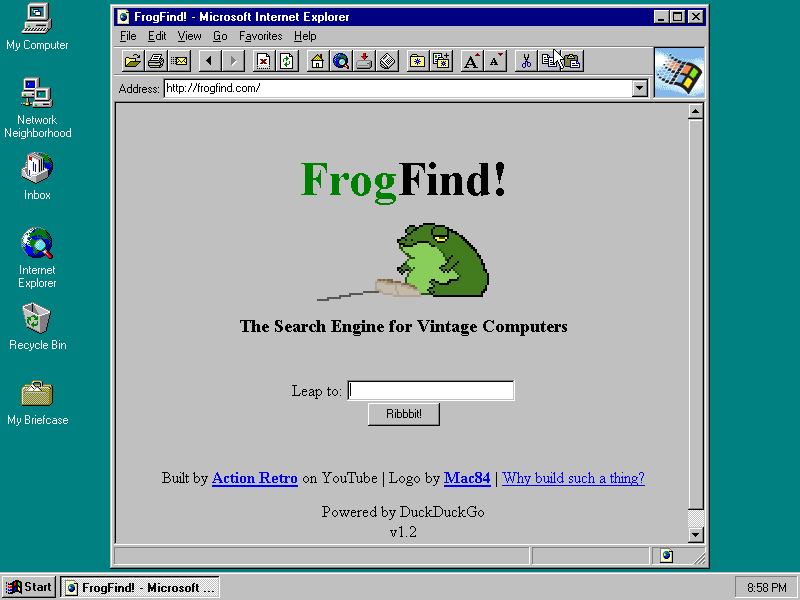
Conclusion
We've installed the OS, set it up with better performing SCSI drivers, installed Service Pack 6, made the mouse usable, gave it better graphics, and got it online. Now what?
Add a bigger disk. Share some files to your old Windows machines. Learn how old domain controllers worked. Set up Exchange and get some mail going.
But most important, remember to have fun! Thank you for reading.
Want to discuss? Email me at blog@pipetogrep.org.